Product Upload Guide
Product Upload User Manual
Last Updated: 1 May 2025
——————————————————————————————————-

- Login to vendor account
From the Home screen (https://mindloungeshop.com), click ‘Login’ at the top of the page.

Enter username (or email address) and your password. Click on ‘Log in’ button to sign in and view vendor account details.

2. Dashboard
My Store page is shown, and default screen is displaying the Dashboard.
Place the cursor hovering over the ‘Products’ link from the left menu item. Click on the ‘Add New’ sub-menu item to upload a new product.

3. Add New Product
The Add Product page is displayed. Product type is default to ‘Simple Product’.
It is advisable to determine if your product falls under a simple, or variable product before you begin.
3.1 Simple Product
Simple Products are the most straightforward type of product. They consist of a single item without any variations, making them perfect for selling individual items like books or electronics. Adding a Simple Product requires just a few key details like product name, price, and description, making it quick and easy to get started. Of course you can also add product images, attributes, and more to entice shoppers.

Select ‘Simple Product’ from the dropdown menu.

- Keyin the Product Title, along with Price and Sale Price (if applicable).

- If you plan on putting the product on sale on at certain date, click on ‘schedule’.
- Select the ‘From’ date and ‘Upto’ date from the date picker.
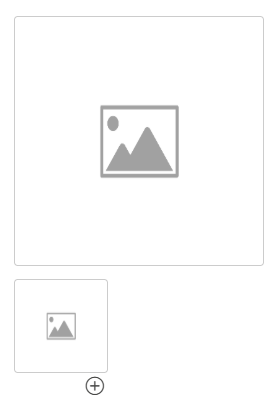
- Click on the Add Image icon.

- Images and graphics need to be uploaded to the Media Library before available for use in the marketplace. Click on ‘Upload Files’ and select the required image if you have not done so yet.

- Choose an image and click on the ‘Select’ button.

- The image thumbnail should appear on the product page. Click the add image icon again to add more images and follow the same steps above.

Input a Short Description for the product. This should ideally be 2-3 sentences that describes your product.

- Input a Description. This is the long description of your product. It is best to include all important information on your product specifications, special features, attributes, etc.
- You can also add media to your description. Click on ‘Add Media’ button and follow the same steps as uploading images above.
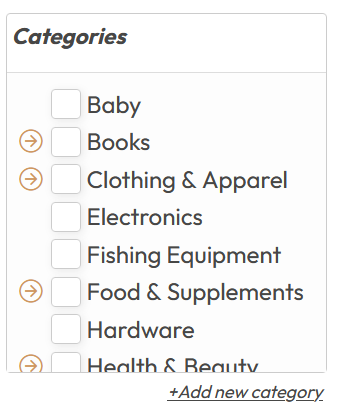
- Select a suitable product Category. Ensure to select the correct category to enable customers to easily find your product. You may select more than one category (if applicable). If a suitable category is not available for your product, please email a request to: support@mindloungeshop.com
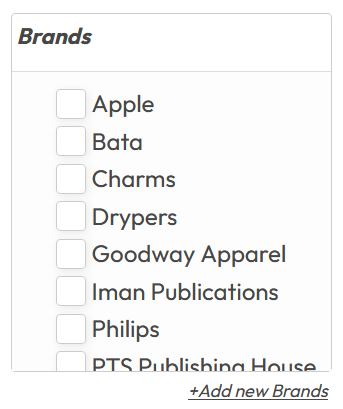
- Select the Brand for your product. Ensure to select the correct brand to enable customers to easily find your product. If your brand is not available, please email a request to: support@mindloungeshop.com
- Select product tags related to your product.
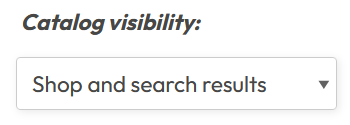
- Select Catalog Visiblity setting:
- Shop and search results (default)
- Shop only
- Search results only
- Hidden

- Manage stock inventory by entering SKU number, Stock Level, Stock Status, and Sold Individually settings.
Click on the checkbox for Manage Stock to enable stock management at product level. This will enable the ‘Stock Qty’ and ‘Allow Backorders?’ fields for input.

- Shipping settings are required to ensure the correct pricing of shipping rates charged to the customers. Please ensure the correct Weight (kg) and Dimensions (cm) of your products.
You may also select ‘Processing Time’ to better manage customers’ expections on the store’s fulfilment activities.
- 1 business day
- 1-2 business days
- 1-3 business days
- 3-5 business days
- 1-2 weeks
- 2-3 weeks
- 3-4 weeks
- 4-6 weeks
- 6-8 weeks

- Product attributes are not required for Simple Products. However, they can be useful for:
- Better filtering – customers can search by e.g color, brand, etc
- SEO benefits – more product details improve search visibility
- Future expansion – if you later add variation, attributes make conversion easier

The page displays default attributes with example options. You may add new attributes by clicking on ‘Add’ button.

- You may link the current product to other products in your store. This is called ‘Up-selling’ or ‘Cross-selling’.
Up-selling is used to encourage customers to buy a higher-end version of the same product; typically having better features, performs better, or of better quality.
Cross-selling is used to suggest complementary products that go well with the current product. The main goal is to get the customer to purchase more items from the store. Examples: cross-selling clothing with fashion accessories, lamps with compatible light bulbs, winter jacket with scarves, etc.

- Search Engine Optimisation (SEO) is the process of improving a website’s visibility in search engines to attract organic (free) traffic – as opposed to using paid ads. The goal is to rank higher for relevant keywords so that when users search, your site/product appears near the top.
To get started, you may use tools (Google Analytics, Search, etc); research relevant keywords, and optimise content (meta tags, headings, internal links, etc).

- If you have already set up policies for your Store, you can skip this section (default checkbox is unticked).
If you require product-specific policies, you may tick the checkbox “Override Policy Fields’ and update the relevant information for ‘Shipping Policy’, ‘Refund Policy’, and ‘Cancellation/Return/Exchange Policy’.

- Advanced section provides additional configurations for enabling product reviews, menu order and adding a purchase note to purchases.
3.2 Variable Product
Variable Products are ideal for items that come in multiple variations, such as different sizes or colours. Each variation can have its own price, SKU, stock level, and other attributes, providing a way to manage complex products. Variable products cover a variety of use cases from fashion items, to electronics with multiple configurations, and more.

- To upload a Variable Product, select it from the dropdown menu.
- Enter the Product Title, Short Description, Description, Inventory, Shipping, Attributes, Linked, SEO, Product Policies and Advanced sections as in the steps above.

- On the Attributes section, please ensure ‘Use as Variation’ checkbox is ticked.

- Adding Variations: Enter the ‘Default Form Value’ for the product. It is recommended to remain with the default state of an unselected value.

- On the Variation Options, it is recommended to select ‘Create variations from all attributes’ from the dropdown menu. You can then set stock quantity to ‘0’ for any variation that is unavailable or out of stock.

- Click ‘OK’ to confirm your selection.
- All possible variations will be generated for the product.

- You can then manage each variation’s details, as shown above.
3.3 Virtual and Downloadable Products
“Virtual” and “Downloadable” are designations that can be applied to products which change how they’re handled in your shop. Virtual products are intangible items like services or memberships that don’t require shipping. Downloadable products, on the other hand, are digital files such as eBooks, software, or music that customers can access immediately after payment. These options provide flexibility for selling non-physical goods and can be used in combination with other product types to enhance your offerings.

4. Submit
After completing all sections, you may choose to ‘PREVIEW’ the product; or click ‘DRAFT’ button to save the product as a draft.
Click on ‘SUBMIT’ button to publish your product.

Product is successfully published!
——————————————————